
Building Checklists
Any time you have a multi-step process to complete—either a one-time project like producing a special concert, or a repeated task like packing equipment for a show—you can build a checklist to help manage it.
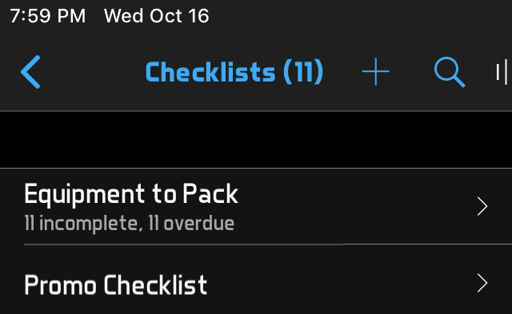
- To create a checklist, click Checklists > Checklists from the main menu, and click the + button at the top of the list.
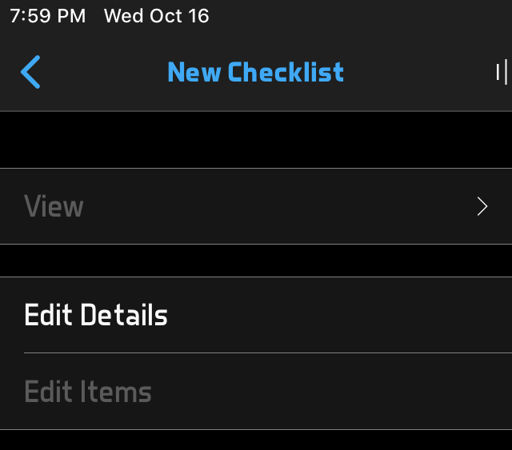
- The checklist menu appears, with everything disabled except the Edit Details button. Click that button.
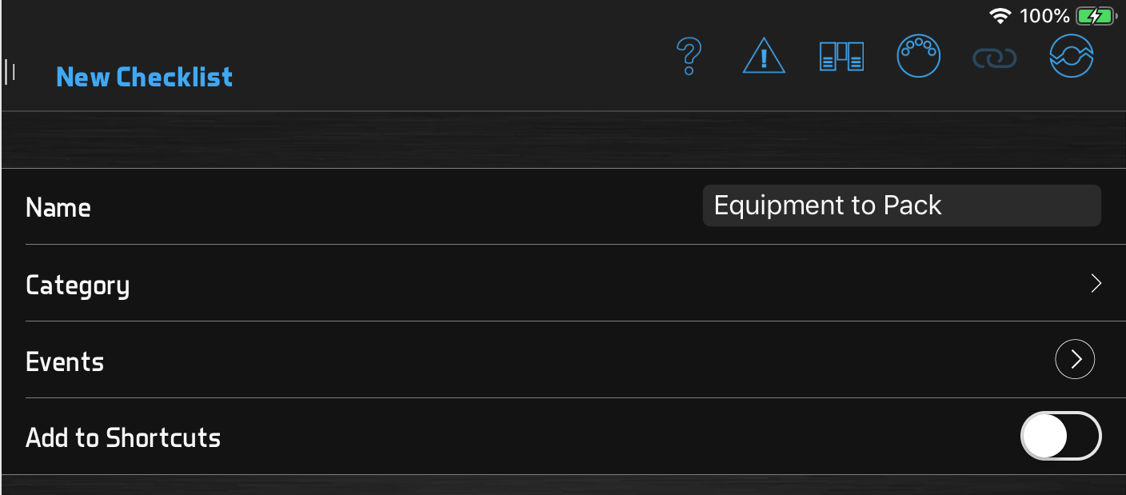
- Enter a name for your checklist. You can also optionally select a category, attach the checklist to an event or select Favorite so it appears on the main menu for quick access. Then click the Continue button.
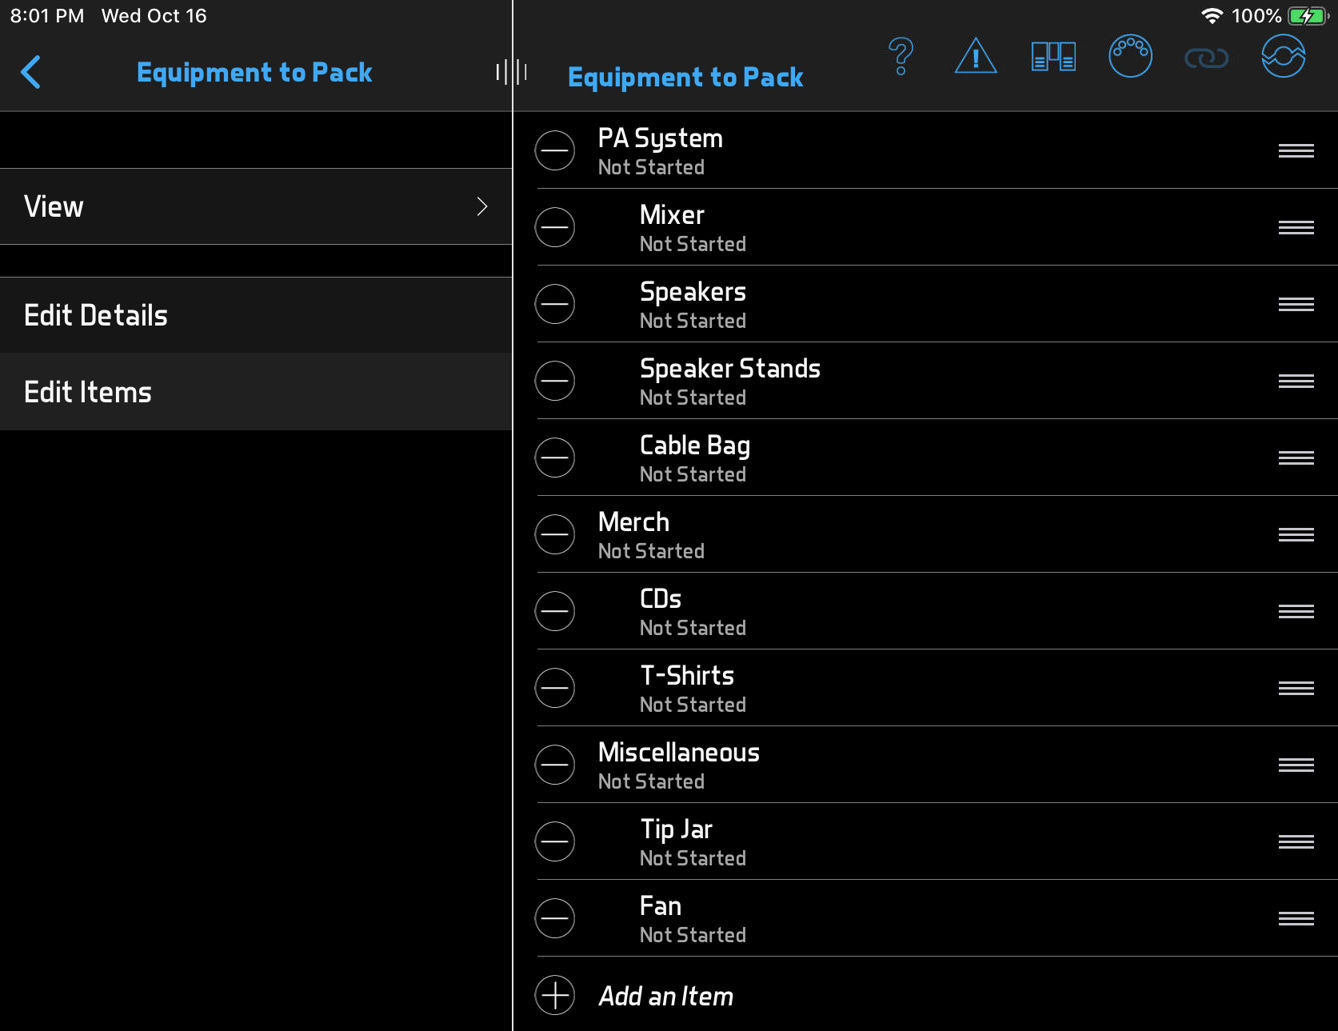
- Click the Back button on a phone or look in the left column on a tablet and click Edit Items.
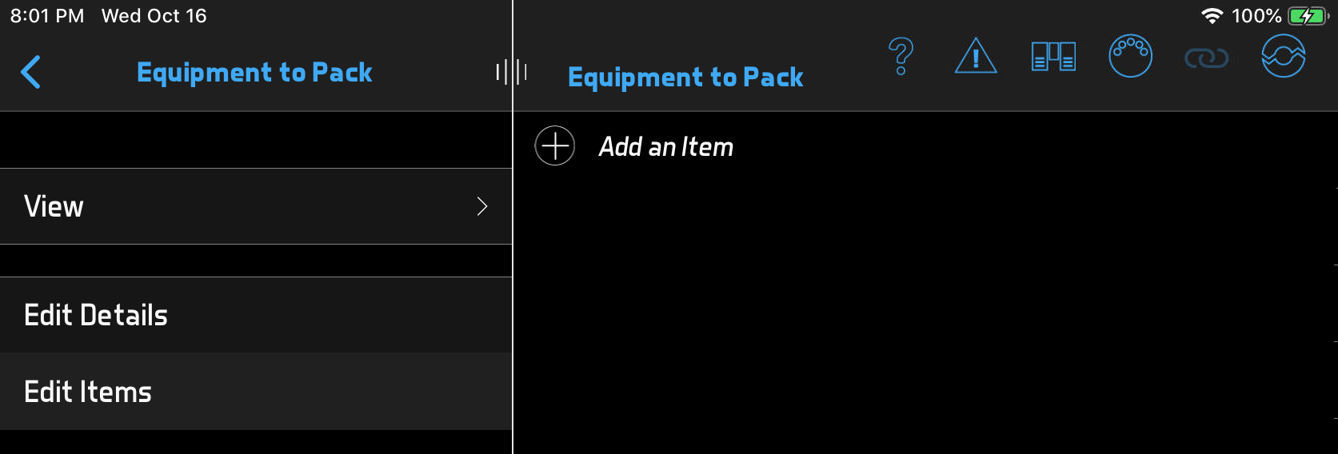
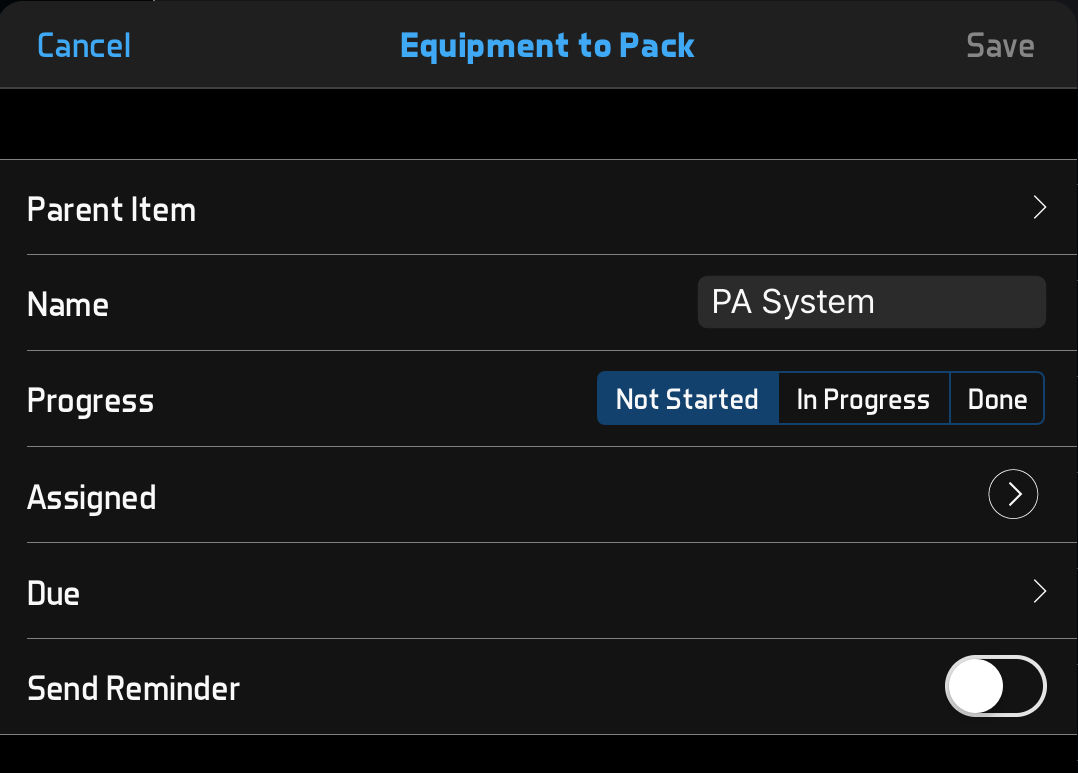
- Click Add an Item and enter a name for the first checklist item. You can optionally assign the item to a user, set a due date or request a reminder when the due date arrives. BandHelper allows you to assign different checklist items to different users, to share the work with your bandmates.
- Repeat the previous step as many times as you need. After adding items, you can change their order in the checklist by dragging the "grip" icon on the right side of the list.
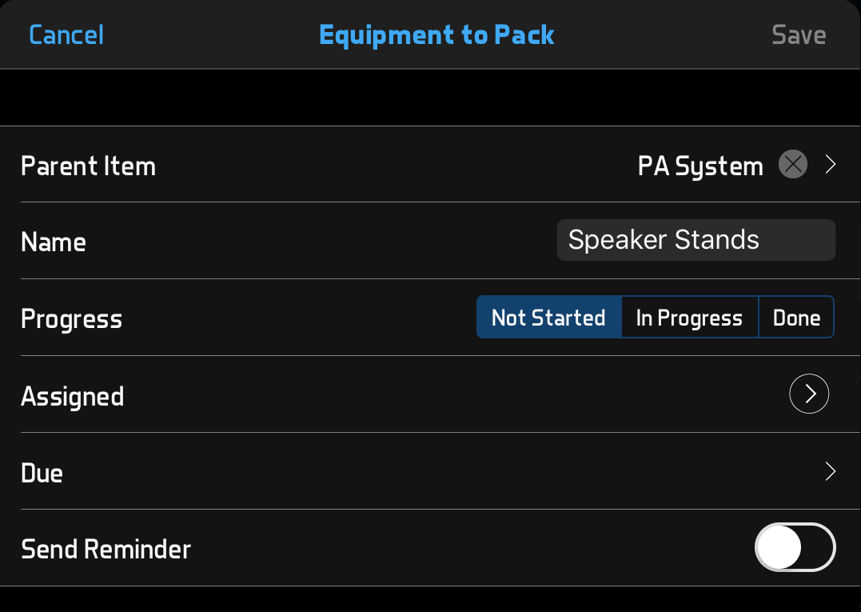
- To add sub-items under an item, you can select an existing item as the Parent Item when adding a new item. For example, a checklist for packing equipment could include a parent item for microphones, then sub-items for each microphone you need. This allows you to build a hierarchical checklist with as much detail and as many levels as you need.
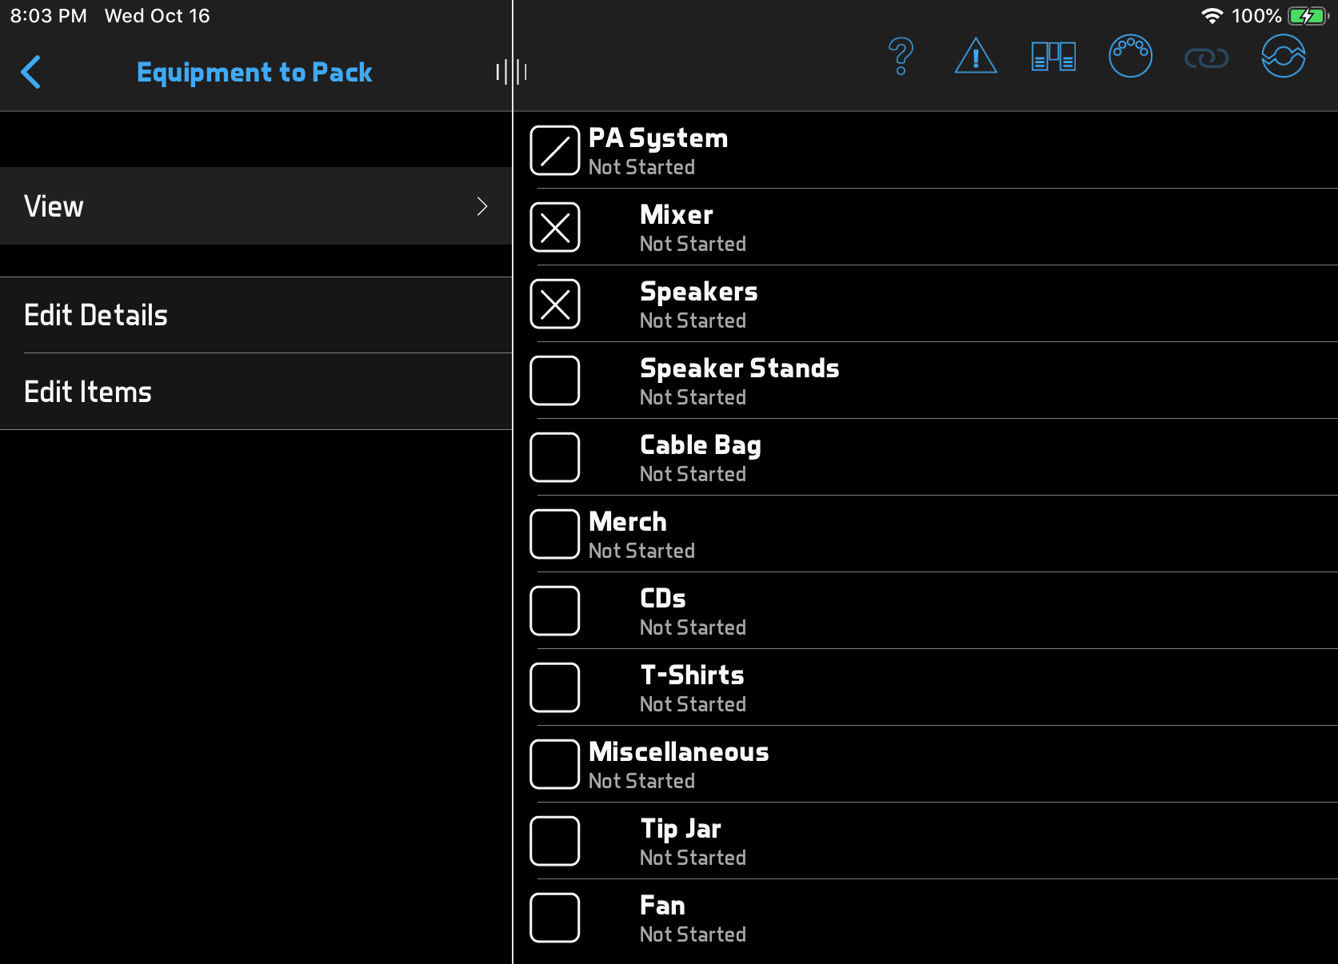
- When your checklist is built, you can click the Back button on a phone or look in the left column on a tablet and click View. Now you'll see your checklist with an empty checkbox next to each item. As you complete the items, you can click the checkboxes. Click once to draw a line showing the item is in progress, then click again to draw a line showing the item is done. These status changes will sync across all the devices in your band, so everyone can see the current checklist progress.
- If you need to carry out a similar process in the future, you can copy the checklist. Go to Checklists > Checklists > [checklist name] > Edit Details, click the copy button and enter a new name. This will create a new checklist with all the same items, but with all the item statuses reset to Not Started.
- If you copy a checklist that is linked to an event, and link the new copy to a different event when copying it, any due dates in the checklist items will be updated relative to the new event date. For example, a checklist that includes an item for sending posters a month before a show will be automatically adjusted to send the posters a month before the new show.
Tutorials